
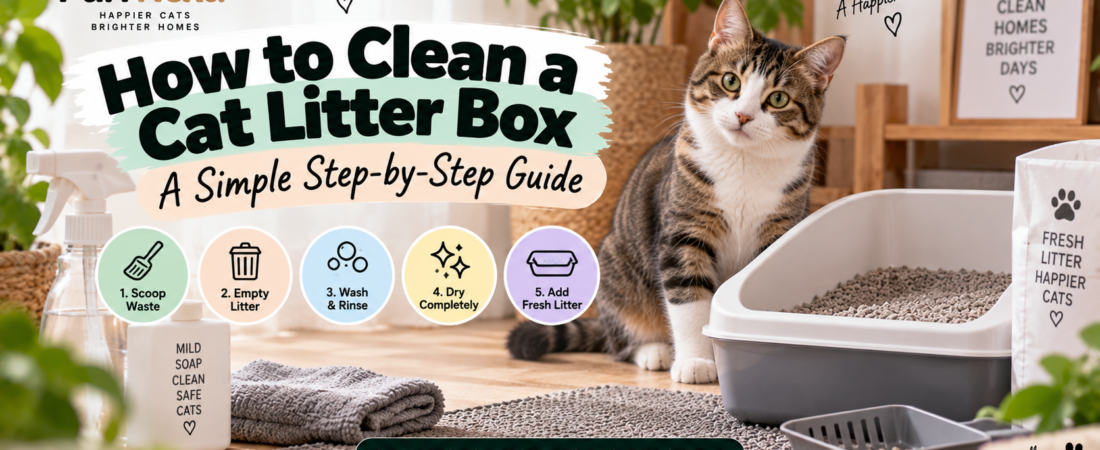
Keeping your cat’s litter box clean is one of the most important parts of maintaining a comfortable litter area.
A dirty box can develop unpleasant odors, become harder to clean, and may make the litter area less appealing to your cat.
Fortunately, learning how to clean a cat litter box doesn’t have to be complicated.
The basic routine involves two different jobs: daily scooping and periodic deep cleaning. Daily scooping removes waste before it accumulates, while deep cleaning gives you an opportunity to replace the litter and clean the box itself.
Here’s a simple step-by-step routine you can adapt to your cat, litter type, and household.
What You’ll Need to Clean a Cat Litter Box
Before getting started, gather a few basic supplies:
- Litter scoop
- Waste bag
- Fresh cat litter
- Warm water
- Mild, unscented dish soap
- Cleaning cloth or sponge
- Paper towels or clean drying cloth
- Disposable gloves, if preferred
Avoid strongly scented cleaners unless the litter box manufacturer specifically recommends them.
Cats have a much stronger sense of smell than humans, and leaving a strong fragrance behind isn’t necessary for getting the box clean.
How to Clean a Cat Litter Box Step by Step
Step 1: Scoop Out Waste
Start with the job that should happen most frequently: scooping.
Remove:
- Urine clumps
- Stool
- Obviously soiled litter
- Debris around the box
For clumping litter, gently move the scoop through the litter rather than aggressively breaking apart urine clumps.
Removing intact clumps helps prevent contaminated pieces from mixing back into the clean litter.
How Often Should You Scoop?
A practical starting point is at least once a day.
Some litter boxes need more frequent scooping, particularly in multi-cat households or heavily used boxes.
The goal is simple: don’t allow waste to accumulate unnecessarily.
Step 2: Check the Remaining Litter
After scooping, look at what’s left.
Ask yourself:
- Is there enough clean litter?
- Does it smell strongly even after scooping?
- Is litter sticking to the bottom?
- Is much of the remaining litter visibly soiled?
- Has the litter stopped performing effectively?
Daily scooping doesn’t mean you need to completely replace all the litter every day.
Instead, remove waste and top up the box when necessary.
Step 3: Maintain the Right Litter Depth
After removing clumps, redistribute the remaining clean litter evenly.
If necessary, add fresh litter.
For many setups, around 2 inches can be a practical starting point, but the ideal amount depends on your cat, litter type, box design, and manufacturer instructions.
More isn’t automatically better.
An excessively deep layer can create more material for enthusiastic diggers to kick around.
For more detail, read our guide on how deep cat litter should be.
How to Deep Clean a Cat Litter Box
Daily scooping handles routine waste.
Periodically, you’ll also want to empty the box completely and clean the actual litter pan.
Here’s how.
Step 4: Empty All the Old Litter
When it’s time for a complete litter change, empty the remaining litter into an appropriate waste bag.
Don’t simply add unlimited amounts of fresh litter on top of increasingly old litter.
Completely emptying the box gives you a chance to inspect and clean areas that aren’t accessible during normal scooping.
Follow your local waste-disposal rules and the litter manufacturer’s disposal instructions.
Step 5: Inspect the Empty Box
Before washing, take a quick look at the litter pan.
Check for:
- Stuck litter
- Dried residue
- Cracks
- Deep scratches
- Damaged surfaces
- Strong lingering odors
This is particularly useful with older plastic boxes.
Over time, scratched surfaces can become increasingly difficult to clean thoroughly. If you are shopping for a replacement, use our stainless steel litter box comparison to check dimensions, entry height and cleaning access before choosing a model.
Step 6: Wash With Warm Water and Mild Soap
Use warm water and mild, unscented soap to clean the litter box.
Pay attention to:
- Bottom of the pan
- Corners
- Sides
- Entrance
- Seams
- Hood or lid, if applicable
Use a dedicated sponge or cleaning cloth rather than one used for dishes or food preparation.
You don’t need to make the box smell perfumed.
The goal is to remove waste and residue and leave a clean surface.
Step 7: Rinse Thoroughly
After washing, rinse the litter box thoroughly with clean water.
This step matters because you don’t want unnecessary soap residue remaining inside the pan.
Check corners and textured areas where soap can collect.
Continue rinsing until the surfaces feel clean and free from obvious residue.
Step 8: Let the Box Dry
Allow the litter box to dry before adding fresh litter.
You can:
- Air-dry it, or
- Dry it with clean paper towels or a dedicated cloth.
Adding dry litter to a wet box can cause some litter types to stick immediately to the bottom or sides.
Make sure the interior is reasonably dry first.
Step 9: Add Fresh Litter
Once the box is clean and dry, add fresh litter.
Again, avoid assuming that filling the box deeply is better.
Start with an appropriate layer and adjust according to your cat’s behavior and the manufacturer’s recommendations.
If your cat has a strong litter preference, deep-cleaning day usually isn’t the best time to suddenly introduce a completely different litter unless you’re intentionally transitioning.
Step 10: Return the Box to Its Usual Location
Put the clean box back in its normal accessible location.
Cats often benefit from consistency.
If the existing location works well, there’s usually no reason to move the box every time you clean it.
Changing the:
- Box
- Litter
- Location
- Depth
all at once can make it difficult to determine which change your cat dislikes if a problem develops.
How Often Should You Deep Clean a Litter Box?
There’s no universal schedule that fits every litter box.
The ASPCA also recommends scooping litter boxes daily and regularly cleaning them as part of maintaining an appropriate litter box setup.
How often you need a complete litter replacement depends on:
- Litter type
- Number of cats
- Number of litter boxes
- Box size
- Scooping frequency
- Your cat’s habits
- Manufacturer instructions
- Condition of the remaining litter
For clumping litter, daily scooping can allow clean litter to remain usable longer than litter that isn’t routinely maintained.
Non-clumping litter may require more frequent complete replacement depending on how it handles urine.
Rather than relying only on the calendar, pay attention to the actual condition of the box.
For a deeper explanation, see how often you should change cat litter.
How to Clean a Covered Litter Box
Covered litter boxes require the same basic cleaning routine, but they have additional surfaces.
During a deep clean, remove the hood when possible and clean:
- Inside of the hood
- Entrance
- Door
- Corners and seams
- Handle
- Ventilation areas
If the box uses a replaceable odor filter, follow the manufacturer’s replacement instructions.
A hood can hide mess from view, but it doesn’t reduce the need for regular scooping.
If you’re considering this type of setup, see our best covered litter boxes comparison.
How to Clean a Litter Box in a Multi-Cat Home
Multi-cat households can require more frequent maintenance simply because the boxes receive more use.
Regular scooping becomes particularly important.
Also remember that one heavily used box isn’t necessarily a substitute for providing enough litter box resources.
A commonly used starting guideline is one litter box per cat plus one additional box, with boxes distributed in appropriate, accessible locations.
Read our complete guide on how many litter boxes per cat you need.
Choosing litter for several cats? Our guide to the best cat litter for multiple cats compares five options by clumping features, odor control, scent and weight to help you choose for your household.
How to Control Litter Box Odor
A clean litter box shouldn’t depend on perfume to hide odor.
Instead, focus on removing the source.
A practical odor-control routine includes:
Scoop regularly → maintain appropriate litter → deep clean when needed → keep the surrounding area clean → provide adequate ventilation
Also clean any litter that accumulates around or underneath the box.
If odor is a persistent problem, see our guide on how to stop cat litter box smell.
If you’re also comparing litter options, explore our guide to the best cat litter for odor control. It explains the differences in materials, clumping and odor-control features to consider alongside your cleaning routine.
Don’t Forget the Litter Mat and Surrounding Floor
Cleaning the box while ignoring the surrounding area leaves half the job unfinished.
Litter can accumulate:
- Under the box
- Beneath litter mats
- Around walls
- Along baseboards
- In nearby carpet
- Around the box entrance
Move the litter mat periodically and clean underneath it.
Vacuum or sweep loose litter as necessary.
If tracking is a recurring problem, see our comparison of the best litter mats for cats.
Common Litter Box Cleaning Mistakes
1. Waiting Until the Box Smells Bad
Odor shouldn’t be the only reminder to scoop.
Removing waste regularly is easier than trying to rescue a heavily soiled litter box later.
2. Using Strongly Scented Products
A strong artificial fragrance may smell clean to you without necessarily making the litter box more appealing to your cat.
Cleanliness and fragrance aren’t the same thing.
3. Adding Fresh Litter Without Removing Waste
Topping up is useful after scooping.
It isn’t a substitute for removing urine clumps and stool.
4. Forgetting the Bottom of the Box
Litter can stick to the pan underneath the clean-looking surface.
A complete litter change lets you address residue that routine scooping misses.
5. Ignoring the Hood
Covered boxes collect dust and residue on surfaces above the litter too.
Clean the entire enclosure during deep cleaning.
6. Making Too Many Changes at Once
Deep-cleaning day doesn’t need to become:
new box + new litter + new location + new litter depth.
Keeping some consistency can make transitions easier for your cat.
What If Your Cat Stops Using the Clean Litter Box?
If your cat avoids the box immediately after cleaning, consider what changed.
Did you:
- Use a strongly scented cleaner?
- Switch litter?
- Move the box?
- Change the litter depth?
- Add a hood or door?
- Replace the old box with a different design?
Try to identify the specific change rather than assuming your cat suddenly dislikes being clean.
Persistent or sudden litter box avoidance can also have behavioral or medical causes.
See our guide on why your cat may not be using the litter box.
If your cat repeatedly enters the box and strains, appears painful, produces little or no urine, or shows other concerning symptoms, contact a veterinarian promptly. Inability to pass urine can be a medical emergency, particularly in male cats.
Frequently Asked Questions
How often should I clean my cat’s litter box?
Scoop waste at least daily as a practical starting point and perform complete litter replacement and box cleaning according to the litter type, number of cats, condition of the box, and manufacturer instructions.
What should I use to clean a cat litter box?
Warm water and a mild, unscented soap provide a straightforward option for routine deep cleaning. Always rinse the box thoroughly and let it dry before adding fresh litter.
Can I wash a litter box with dish soap?
A small amount of mild, unscented dish soap can be used for routine cleaning. Rinse thoroughly so unnecessary soap residue doesn’t remain in the box.
Should I completely empty the litter box every day?
Usually not when using clumping litter. Routine maintenance generally involves removing waste daily and periodically replacing the remaining litter according to its condition and manufacturer guidance.
How do I stop a litter box from smelling?
Frequent scooping is one of the most important steps. Regular deep cleaning, suitable litter, adequate litter box resources, and keeping the surrounding area clean can also help.
Should I clean the litter box with bleach?
For routine cleaning, mild soap and water are generally simpler options and avoid unnecessarily strong odors. If a litter box manufacturer provides specific disinfecting instructions, follow those directions carefully rather than improvising chemical combinations.
How do I clean litter stuck to the bottom?
After emptying the box, soak stubborn residue with warm water before gently cleaning it with a dedicated sponge or cloth. Avoid damaging the litter pan with unnecessarily abrasive tools.
Final Thoughts
Learning how to clean a cat litter box comes down to maintaining two routines.
Daily maintenance: scoop waste, check the litter, and top up when necessary.
Periodic deep cleaning: empty the box, wash it with warm water and mild soap, rinse thoroughly, dry it, and refill it with fresh litter.
Consistency matters more than making the process complicated.
A clean, appropriately sized, accessible litter box with suitable litter creates a better environment for your cat—and makes maintaining the litter area easier for you.
Pay attention to your cat’s normal habits, keep the box clean, and investigate sudden changes rather than simply assuming they’re behavioral.
If you are considering a box that may be easier to maintain over time, read our guide on whether stainless steel litter boxes are better than plastic.